To create a custom look with iron-on details, start by selecting the right fabric, like cotton or denim, for better adhesion. Keep designs simple and bold, using stencils or printed templates for accuracy. Follow the manufacturer’s instructions carefully for heat and pressure. Focus on placing your designs on high-wear areas and turn garments inside out for washing. With attention to detail and proper technique, you’ll achieve a durable, personalized style that stands out—discover more tips as you continue.
Key Takeaways
- Choose natural, compatible fabrics like cotton or denim for better adhesion and a smooth finish.
- Keep designs simple and bold for clearer transfer and a professional appearance.
- Follow manufacturer instructions carefully, applying firm, even pressure at the recommended temperature.
- Position designs on high-wear areas and turn garments inside out to enhance durability.
- Use contrasting colors and thoughtful placement to create a personalized, stylish look.
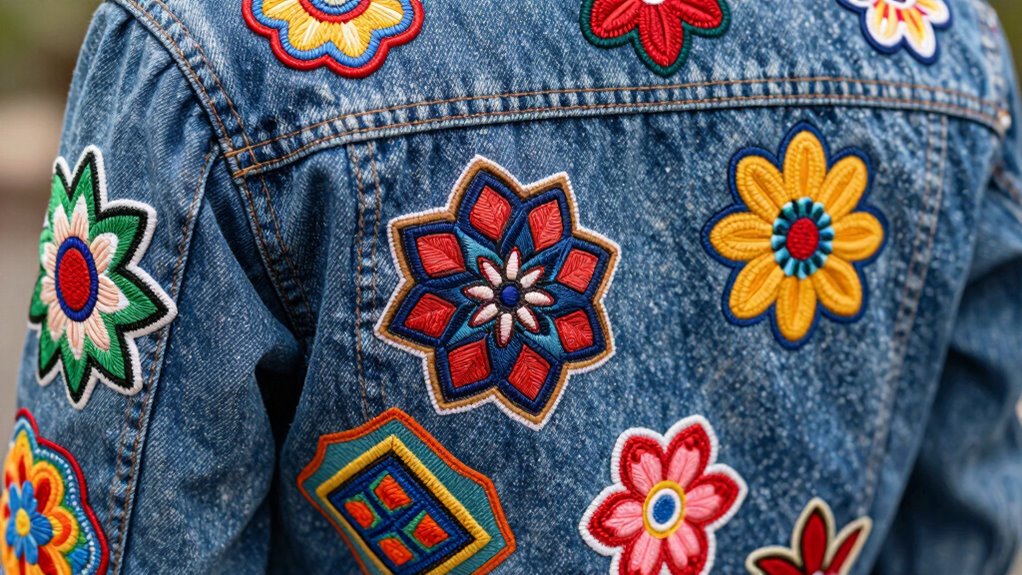
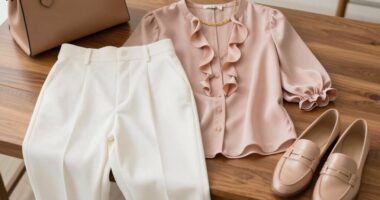
Adding iron-on details is a simple way to personalize your clothing and accessories, giving them a fresh, unique look. When you choose to add these details, the first step is selecting the right fabric choices. Not all fabrics work equally well with iron-ons; natural fibers like cotton, denim, and canvas tend to hold the adhesive better and create a smoother finish. Avoid shiny or slippery fabrics such as silk or satin, as they can be challenging to work with and may not adhere properly. If you’re customizing a garment with multiple layers or textures, test a small section first to ensure the iron-on will stick securely without damaging the fabric.
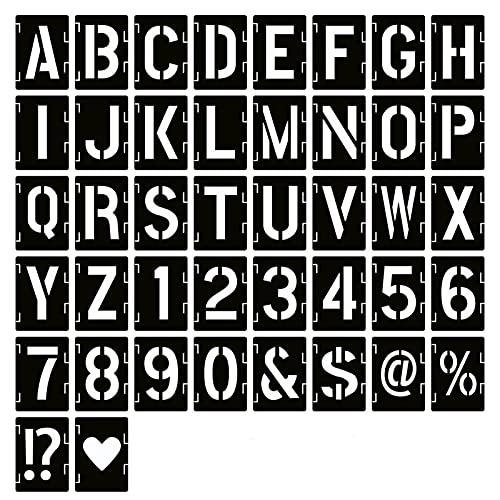
Once you’ve selected your fabric, consider your design tips to create a polished, professional look. Keep your design simple and bold—intricate details can be difficult to transfer cleanly, especially if you’re new to iron-ons. Use stencils or printed templates to trace your designs, ensuring they’re proportional and aligned before applying. When applying the iron-on, follow the manufacturer’s instructions carefully. Typically, you’ll need to set your iron to a specific heat level—usually cotton or high heat—without steam, and apply firm, even pressure for the recommended duration. This guarantees the adhesive bonds properly to the fabric, resulting in a durable finish. Proper application techniques are essential for achieving long-lasting results with your custom designs. Additionally, paying attention to fabric types and their compatibility with iron-ons can help you achieve better results and extend the life of your customizations. Understanding fabric compatibility can also prevent issues like bubbling or peeling over time.
Keep designs simple and bold for a professional look; follow manufacturer instructions carefully for best results.
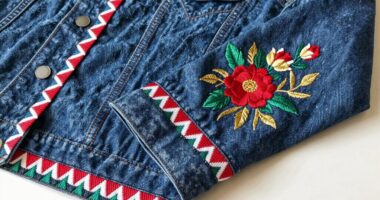
For a more personalized touch, think about combining different iron-on shapes, letters, or patterns to create a custom graphic or message. Consider using contrasting colors to make your design pop or matching shades for a more subtle effect. Iron-on details are especially effective when placed on areas that will receive frequent washing, like the chest of a shirt or the pocket of a jacket—they’ll stay put longer if applied correctly. To ensure your project lasts, it’s beneficial to learn about heat transfer methods and how they can influence the durability of your design.
In addition to the application process, think about the overall aesthetic. For example, a vintage-inspired look can be achieved by choosing retro fonts and classic motifs, while a modern style might lean toward minimalist graphics or geometric patterns. Be sure to finish your project by turning your garment inside out and washing it according to fabric recommendations to preserve your design. Understanding fabric types and their compatibility with iron-ons can help you achieve better results and extend the life of your customizations. With a little planning and attention to detail, you can turn a plain piece into a one-of-a-kind item that reflects your personality and style. Iron-on details are a versatile, cost-effective way to elevate your wardrobe and showcase your creativity.

TransOurDream Heat Transfer Paper for Dark T Shirts(20 Sheets, 8.5×11),Printable HTV Heat Transfer Vinyl for Inkjet Printers
💕TRU-TRANSFER PAPER: Pack of 20 sheets Dark Transfer Paper and 2 sheets (A3) reusable Teflon Paper. Our dark…
As an affiliate, we earn on qualifying purchases.
As an affiliate, we earn on qualifying purchases.
Frequently Asked Questions
Can Iron-On Details Be Applied to All Fabric Types?
Not all fabric types are compatible with iron-on details. You should check fabric compatibility before applying, as some materials like silk or delicate synthetics may not hold the adhesive well or could be damaged by heat. For design versatility, choose fabrics like cotton, denim, or canvas that work well with iron-ons. Always read the manufacturer’s instructions to guarantee proper application and long-lasting results on your chosen fabric.
How Long Do Iron-On Details Last After Washing?
Think of your iron-on details as tiny stars shining on your fabric sky—they’ll last through many washes if you care for them right. Durability concerns depend on washing care; gentle cycles and cold water help preserve their sparkle. Usually, they stay vibrant for about 20-30 washes, but intense scrubbing or high heat can dim their shine faster. Treat your design with love, and it’ll keep looking fresh longer.
Are There Eco-Friendly or Non-Toxic Iron-On Options?
Yes, you can find eco-friendly and non-toxic iron-on options. Look for products that use eco-friendly adhesives and non-toxic materials, ensuring safer crafting and washing. These options are free from harmful chemicals, making them better for the environment and your health. Always check the labels for certifications like OEKO-TEX or GREENGUARD, which guarantee the materials are safe and non-toxic. This way, you create custom looks safely and sustainably.
Can I Reuse or Reposition Iron-On Details After Application?
Repositioning iron-on details is like trying to catch lightning in a bottle; once set, they’re usually permanent. Reuse possibilities are limited because heat and pressure seal them in, making repositioning challenging. If you want to avoid this, consider using iron-on adhesives or heat-free options. For best results, plan your design carefully before applying, so you can avoid the frustration of trying to move or reuse them later.
What Tools Are Best for Precise Placement of Iron-On Designs?
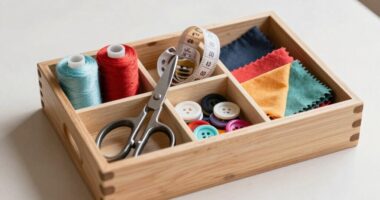
You should use tools like a ruler, masking tape, or a craft ruler for precise placement of your iron-on designs. These tools help you with accurate alignment techniques, ensuring your design transfer is perfectly positioned. A heat-resistant silicone spatula or tweezers can also assist in adjusting the design without shifting it. Take your time, double-check the alignment, and use these tools to achieve a clean, professional look.

Calogy Mini Heat Press, Heat Transfer Machine, Constant Temp Control, Insulated Safety Base, Fits for Crafts, T-Shirt, Hat, Cap, Pillows(White Pink)
Only 1 Button Design: Press 1 time to increase temp; press 2 times to decrease temp; Press 3…
As an affiliate, we earn on qualifying purchases.
As an affiliate, we earn on qualifying purchases.
Conclusion
Now that you’ve learned how to add iron-on details, your wardrobe will be bursting with personality. Just remember, patience is key—taking your time guarantees everything turns out just right. With a little practice, you’ll be able to turn plain pieces into eye-catching works of art. Think of it as planting seeds for a unique style; soon, your fashion garden will be in full bloom, showcasing your creativity at every turn.

Name Patches Uniform or Work Shirt, Personalized, Embroidered New Styles New Fonts. Multiple Sizes to Choose from.
Price is for 1 patch
As an affiliate, we earn on qualifying purchases.
As an affiliate, we earn on qualifying purchases.
YEAJON 2 Inch Letter Stencils Symbol Numbers Craft Stencils, 42 Pcs Reusable Alphabet Templates Interlocking Stencil Kit for Painting on Wood, Wall, Fabric, Rock, Chalkboard, Sign, DIY Art Projects
【Quality Material and Safe Alphabet Stencils】: These painting DIY stencils are made of eco-friendly PET material, laser cutting,…
As an affiliate, we earn on qualifying purchases.
As an affiliate, we earn on qualifying purchases.