To create organic textured walls with DIY limewash, start by preparing a lime putty mixture with water and optional natural pigments for color. Clean your surface thoroughly and apply a thin base coat, letting it set. Add additional layers for depth, using a brush or roller in textured strokes to achieve that weathered, organic look. The process is forgiving, and you can easily adjust as you go. Keep exploring to discover more tips for beautiful, authentic finishes.
Key Takeaways
- Prepare a limewash mixture by blending high-calcium lime putty with water to achieve a thick, brushable slurry.
- Clean and repair walls thoroughly before applying to ensure proper adhesion and a smooth base.
- Apply multiple thin coats using a brush or roller, allowing each layer to set for a textured, organic finish.
- Use natural pigments to add subtle color variations and enhance the textured, weathered appearance.
- Finish with a sponge or dry brush technique for added depth and a more organic, uneven texture.
Ever wondered how to transform your walls with a beautiful, textured finish? Limewash offers a stunning way to add organic texture to any space, blending history and modernity seamlessly. This technique has deep roots in architectural history, where it was used to create durable, breathable surfaces on buildings. Historically, limewash was prized for its antibacterial properties and natural appearance, often seen on the facades of old European homes and historic structures. Today, its timeless appeal is making a comeback, finding a fresh place in contemporary interiors and exteriors alike. Modern applications of limewash allow you to incorporate this ancient finish into your home with ease, giving your walls a unique, organic character that’s difficult to replicate with modern paints.
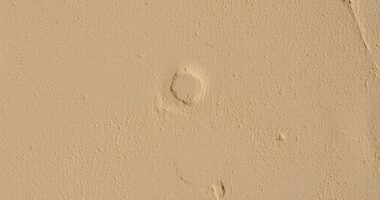
Getting started with DIY limewash is straightforward once you understand the basics. Traditionally, limewash is made from lime putty mixed with water, sometimes with added natural pigments for color. You’ll want to choose the right type of lime, preferably a high-calcium lime for the best results. The process involves mixing the lime with water to create a slurry that’s easy to apply with a brush or roller. The key is achieving a consistency that’s thick enough to spread smoothly but not so thick that it clumps. As you work, you’ll notice how the limewash begins to bond with the surface, creating a matte, velvety finish that’s rich in texture. Proper application techniques ensure a more even and durable result.
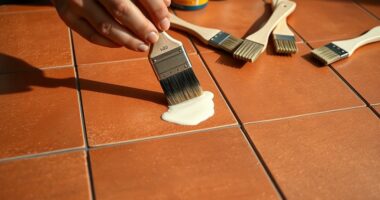
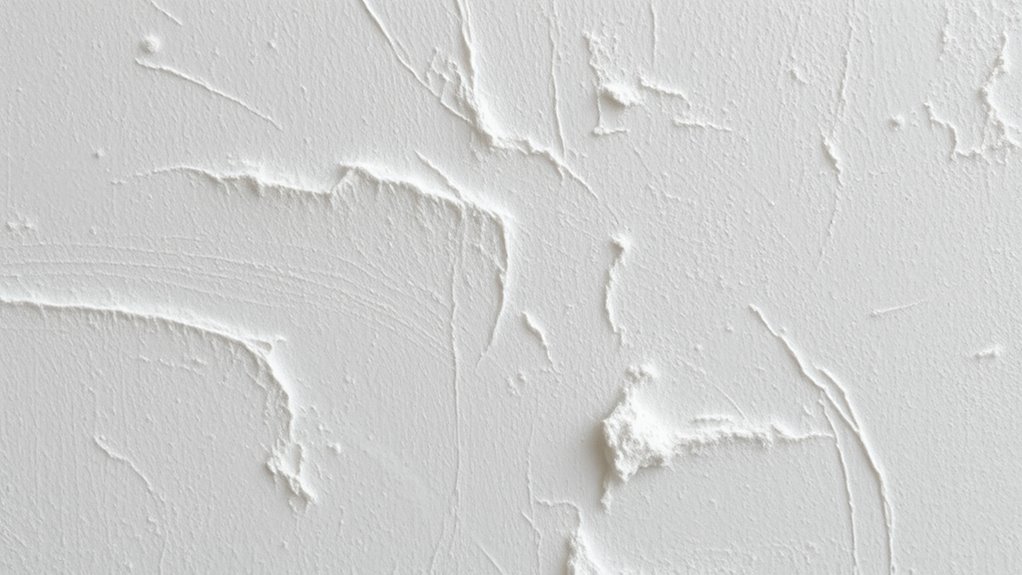
Applying limewash is an art that benefits from layering. Start by preparing your wall—clean it thoroughly and repair any cracks or holes. Once dry, apply a thin base coat, allowing it to set before adding subsequent layers. Each additional coat enhances the depth and organic feel of the finish. You’ll find that the uneven, slightly translucent look of limewash adds an authentic, weathered charm to your space. It’s also quite forgiving; if you make a mistake or want a different look, you can easily wash off excess limewash and start again, thanks to its breathable and mineral-based nature.
Incorporating limewash into your home isn’t just about aesthetics; it’s also about embracing a sustainable, natural finish. Its historical significance lends a sense of craftsmanship and tradition, while modern techniques and tools make it accessible for DIY enthusiasts. Whether you’re aiming for a rustic, old-world vibe or a sleek, contemporary feel, limewash offers a versatile solution that’s as functional as it is beautiful. With a little patience and some basic supplies, you can create stunning, organic-textured walls that elevate your space and connect you to centuries of architectural artistry.
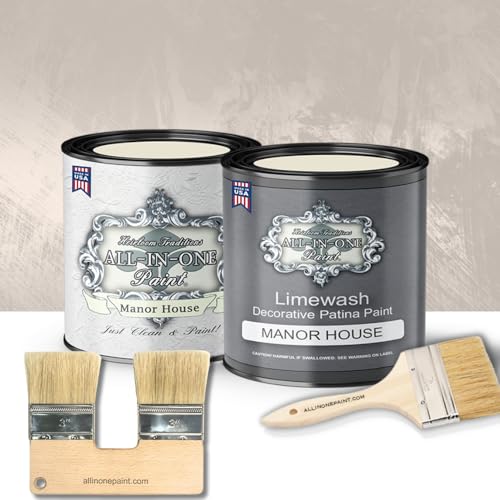
ALL-IN-ONE Paint by Heirloom Traditions, Limewash Paint, 2 Quart Paint Bundle and Tool Kit – Faux Lime Wash Effect, Matte Suede Wall Treatment – Manor House (creamy off white)
SURFACE PREP: Wipe down to remove dust & debris. In heavy use areas, such as kitchens/bath/etc clean well…
As an affiliate, we earn on qualifying purchases.
As an affiliate, we earn on qualifying purchases.
Frequently Asked Questions
Can Limewash Be Applied on Existing Painted Walls?
Yes, you can apply limewash on existing painted walls, but proper surface preparation is essential. First, clean the walls thoroughly and remove any loose paint. Then, sand the surface lightly to create a good bond. Consider color matching the limewash to your current decor for a seamless look. This process guarantees the limewash adheres well and achieves the desired organic texture, transforming your space beautifully.
How Long Does Limewash Last Before Needing Touch-Ups?
Limewash durability typically lasts 5 to 8 years before you need touch-ups, depending on your climate and application quality. You should plan for touch-up frequency every few years to maintain its fresh, organic look. Regular maintenance, like cleaning and sealing, can extend its lifespan. Keep an eye on the surface for signs of wear or fading, and don’t hesitate to reapply a fresh coat when needed to keep your walls vibrant.
Is Limewash Suitable for Outdoor Wall Applications?
Yes, limewash is suitable for outdoor wall applications. It offers excellent weather resistance, protecting your walls from moisture and UV damage. To guarantee a durable finish, use proper application techniques like applying multiple thin coats and allowing adequate drying time between layers. Regular maintenance can help preserve its appearance. With these steps, your outdoor limewashed walls will stay beautiful and resilient against the elements.
What Are the Safety Precautions During Application?
To guarantee a smooth experience, you should wear protective gear like gloves, goggles, and a mask to shield yourself from dust and splashes. Keep the area well-ventilated by opening windows and using fans, which helps disperse any fumes or particles. Taking these ventilation precautions not only safeguards your health but also makes the application process more comfortable, allowing you to enjoy creating your organic textured walls with peace of mind.
Can Limewash Be Tinted to Different Colors?
Yes, limewash can be tinted to different colors using limewash pigments. You simply mix the pigments into the limewash before applying, allowing you to customize your wall’s color to match your décor. This color customization offers a natural, muted finish that enhances organic textures. Just make certain you use high-quality pigments and blend thoroughly for even coloring, creating a beautiful, personalized look for your space.

terrachrom Natural Mineral Earth Pigments, for artistic and decorative paints, cement, resin, varnish, mortar – Dye in powder form | Eco-Friendly & Sustainably Sourced (French Green Earth, 150ml)
Natural pigments obtained from natural earth and ochres are extracted from quarries.
As an affiliate, we earn on qualifying purchases.
As an affiliate, we earn on qualifying purchases.
Conclusion
Now that you’ve learned how to DIY limewash walls, you’re ready to transform your space with a beautiful, organic texture. Think of it like adding a soft, weathered patina to a treasured heirloom—full of character and charm. With patience and a gentle touch, your walls will reveal their unique, rustic beauty. So roll up your sleeves and enjoy the process—your home’s new handcrafted look will be as inviting as a cozy, sun-dappled garden.

Lime-A-Way Hard Water Stain Remover Spray, Removes Lime, Calcium & Rust in Seconds, Bathroom Cleaner, 22 fl oz
#1 MOST EFFECTIVE LIMESCALE REMOVER – Eliminates tough lime, calcium, and rust stains caused by hard water minerals…
As an affiliate, we earn on qualifying purchases.
As an affiliate, we earn on qualifying purchases.

Limewash Paint Brush Natural Bristle – 4 Inch Wide U-Shaped Double Brush for Limewash on Brick and Interior Walls
Double Brush Head for Efficient Limewash Application This limewash paint brush double design covers more surface with every…
As an affiliate, we earn on qualifying purchases.
As an affiliate, we earn on qualifying purchases.