To create DIY floating shelves with a boho flair, start by choosing natural wood like pine or reclaimed pallets. Measure and mark your wall, then cut and notch the wood for a clean, sturdy look. Drill holes, sand the pieces, and finish with stain or paint to match your style. Mount the shelves securely on your wall, then style with books, plants, and boho decor. Keep exploring to discover more tips for perfecting your boho shelf project.
Key Takeaways
- Choose natural wood and add boho-inspired decor like macrame or woven accents to enhance the shelves’ aesthetic.
- Notch and cut the wood precisely to create clean, floating-looking shelves with hidden mounting hardware.
- Drill pilot holes and install sturdy brackets or hidden mounting hardware for secure, seamless floating support.
- Finish with a stain or paint that complements boho style, such as warm tones or earthy hues, and seal for durability.
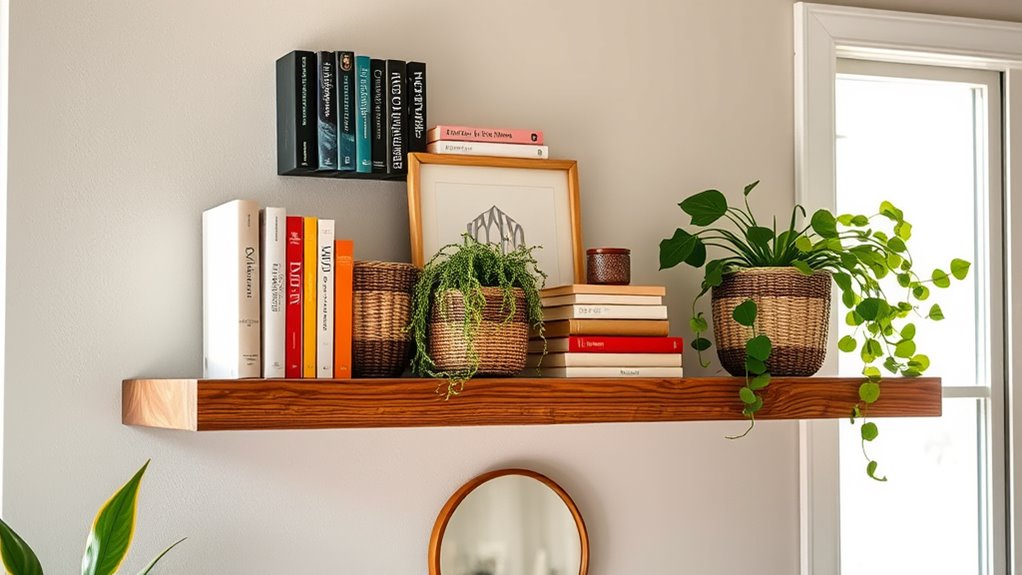
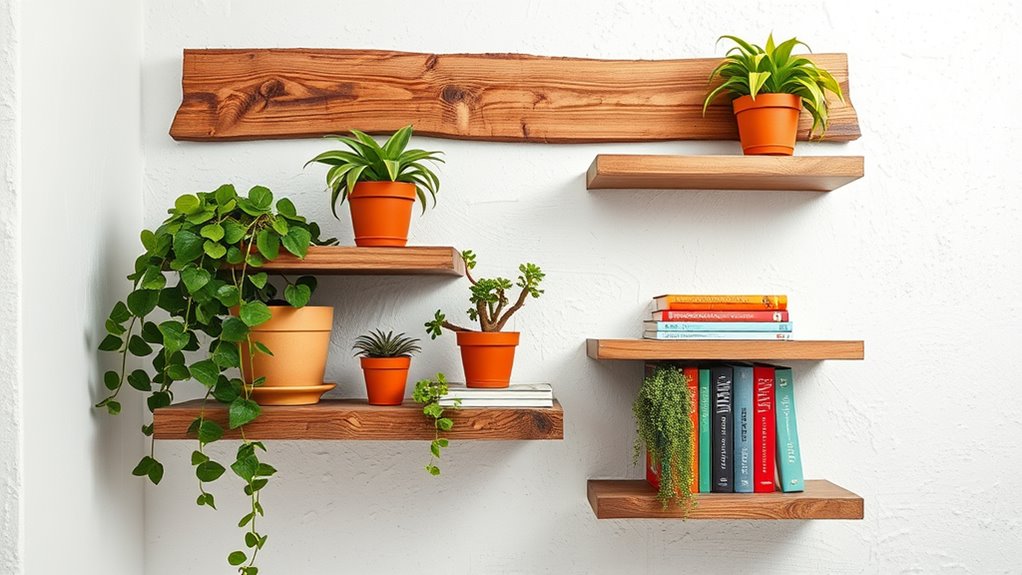
- Style the shelves with books, plants, and decorative objects to achieve a relaxed boho vibe and display your favorite items.

8pcs Wall Shelf Brackets Heavy Duty Floating Shelf Bracket Hidden,Invisible Black Shelving Brackets Decorative Floating Shelf Hardware Heavy Duty,Metal Shelf Support Bracket(8"-8pcs)
The bracket has a 1" backplate and is designed for use with boards 1.5" thick or more.NOTE: The…
As an affiliate, we earn on qualifying purchases.
As an affiliate, we earn on qualifying purchases.
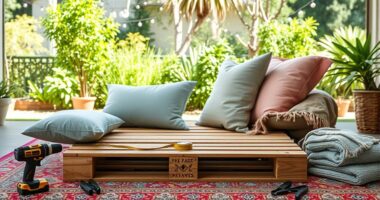
Gathering Materials and Planning Your Design
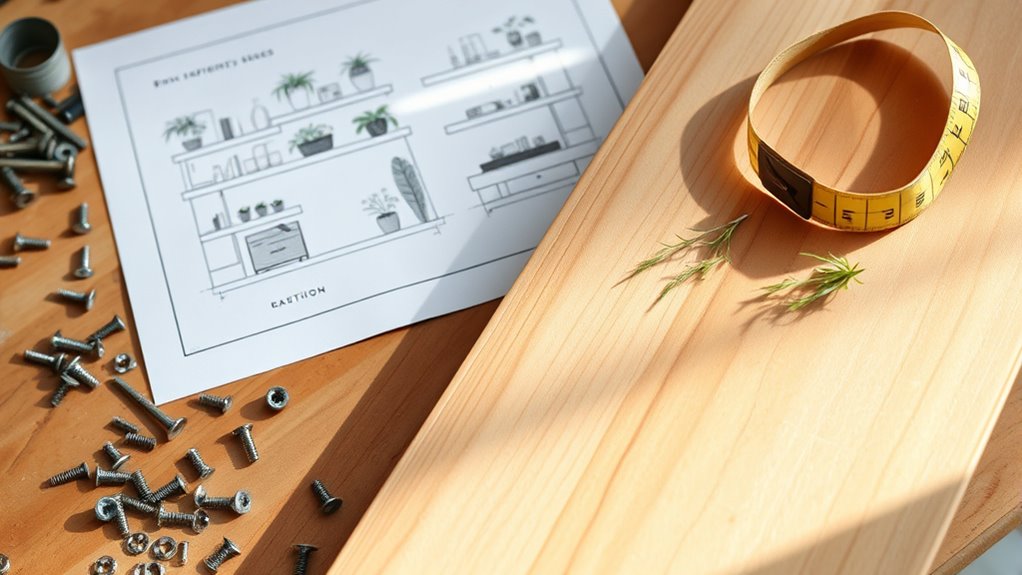
Before you begin installing your floating shelves, acquiring the right materials and planning your design carefully is essential. Start by selecting high-quality wood, like pine or reclaimed pallet wood, and determine the measurements for your shelves, typically around 24-36 inches for a balanced look. Use a measuring tape to mark the wall where you’ll install the brackets or mounting hardware, guaranteeing even spacing and alignment. Gather necessary tools such as a saw, drill, level, and measuring tape to make precise cuts and accurate installation. Pre-drill holes or notch the wood for the hardware to prevent splitting and assure a flush fit against the wall. Choosing the right hardware, like wall brackets or hidden supports, is crucial depending on the weight of your books and plants. Additionally, space optimization can help ensure your shelves are both functional and harmonious with your room’s layout. Considering the weight capacity of your mounting hardware is also essential for safety and durability. Being mindful of load-bearing capacity ensures your shelves can safely support the items you plan to display.

Hongsane Floating Shelves for Wall, Boho Home Wall Decor,Rattan Plant Shelf Set of 2, Mid Century Small Decorative Shelf, Natural Wood Shelves for Living Room,Bedroom,House,Office (Walnut)
Enhance Your Space with Bohemian – Style: These bohemian – inspired floating shelves are a perfect addition to…
As an affiliate, we earn on qualifying purchases.
As an affiliate, we earn on qualifying purchases.
Cutting and Notching Your Wooden Shelves
To guarantee your floating shelves fit perfectly and install securely, start by cutting the wood to your desired length—typically around 25 inches—using a miter or circular saw for clean, precise cuts. Next, create a 1/2-inch deep notch in the back of each shelf with a hand router or similar tool to accommodate wall hardware. Notching ensures the shelf sits flush against the wall and provides a sturdy mount. After notching, drill accurately placed holes using a paddle bit, then refine these with a drill press for consistency and safety. Once all cuts and notches are complete, sand all rough edges thoroughly to achieve a smooth finish, preparing your shelf for staining or painting. Proper notching and careful cutting make your floating shelves both functional and visually appealing. Additionally, understanding the importance of proper measurements can help you avoid common installation issues and ensure your shelves are level and secure. Incorporating AI-driven security systems can also enhance your home safety during the setup process by providing real-time monitoring and alerts. Considering sound vibrations and their influence can also be beneficial in creating a calming and harmonious environment in your space. Moreover, using Glycolic Acid in your skincare routine can improve skin texture and promote a healthier appearance. For added stability, exploring wall anchoring options can help support heavier items on your shelves.
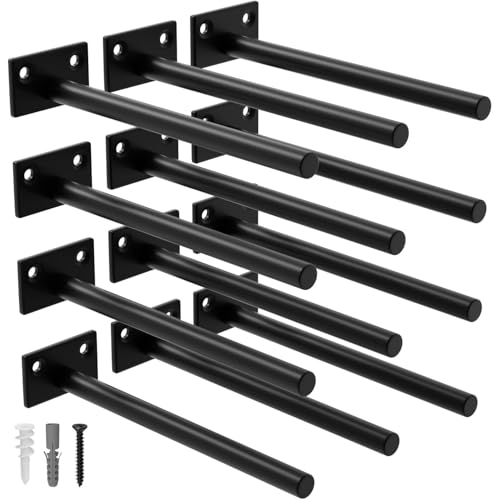
LEOPO 12-Pack 8 inch Floating Shelf Brackets, Hidden Shelf Bracket for Wood, Concealed Blind Shelving Support,Invisible Coated Brackets for DIY Decorative,Fit for Kitchen, Bathroom,Study Room
Superior Quality: Our floating shelf bracket is expertly crafted from premium steel, ensuring exceptional durability and an impressive…
As an affiliate, we earn on qualifying purchases.
As an affiliate, we earn on qualifying purchases.
Drilling Holes and Preparing for Hardware
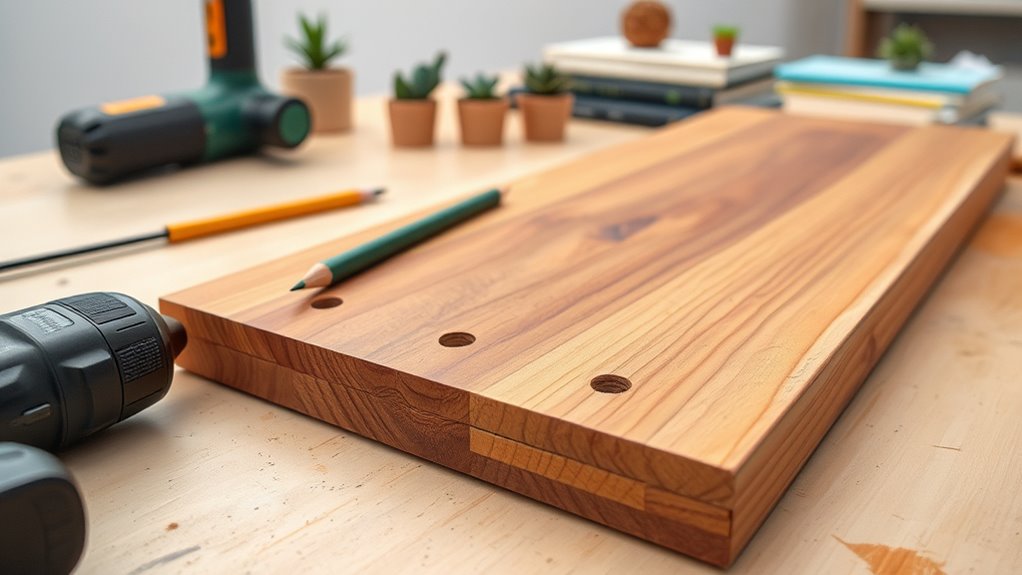
Drilling precise holes is essential for a secure and level floating shelf installation. Use a drill with a paddle bit compatible with your hardware to create pilot holes at marked spots. Confirm these holes are centered and straight guarantees smooth hardware installation. Drill to the depth specified in your hardware instructions, usually around 4 inches. For increased precision, switch to a drill press if available, especially for multiple or larger holes. Keep the drill steady and apply consistent pressure to avoid wandering. Clear out sawdust and debris after drilling, and double-check that the hardware fits snugly before proceeding. Proper preparation ensures your shelf will hang evenly and securely, providing a professional look and reliable display space.
| Step | Tip |
|---|---|
| Mark drilling spots | Use a pencil for accuracy |
| Select the right drill bit | Paddle bit compatible with hardware |
| Maintain steady pressure | Prevent holes from wandering |
| Drill to correct depth | Usually around 4 inches, per hardware instructions |
| Clean debris after drilling | Ensures hardware fits snugly and securely |

Floating Shelves for Wall Decor, Rustic Solid Elm Wood Live Edge Floating Shelves Wall Mounted, Wall Shelves with Invisible Bracket for Living Room Bathroom Bedroom Kitchen, 24 Inch Set of 2, Natural
Solid Elm Wood: Our rustic live edge floating shelves are made of reclaimed elm wood, each floating shelf…
As an affiliate, we earn on qualifying purchases.
As an affiliate, we earn on qualifying purchases.
Finishing Your Shelves With Stain or Paint
Are you ready to give your shelves a polished, professional finish? Applying stain or paint is the final step to elevate your boho-inspired decor. Here’s how to do it right:
- Choose stain to highlight the wood’s natural grain, or opt for paint for a vibrant look.
- Use a brush or cloth to evenly apply your chosen finish, following the wood grain for a smooth, consistent coat.
- Let it dry for 2 to 4 hours for stain or longer for paint, then lightly sand between coats for a flawless surface.
- Incorporate woodworking techniques to ensure a smooth and even application, especially if working with reclaimed wood or textured surfaces.
Finally, seal your work with a clear polyurethane sealant to add shine and protection, ensuring your shelves stay beautiful and durable over time.
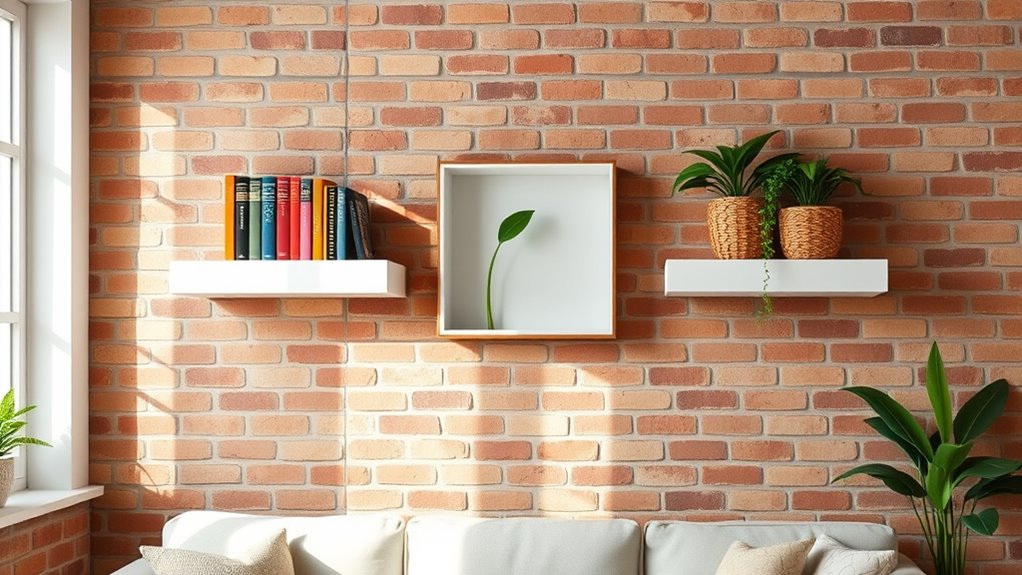
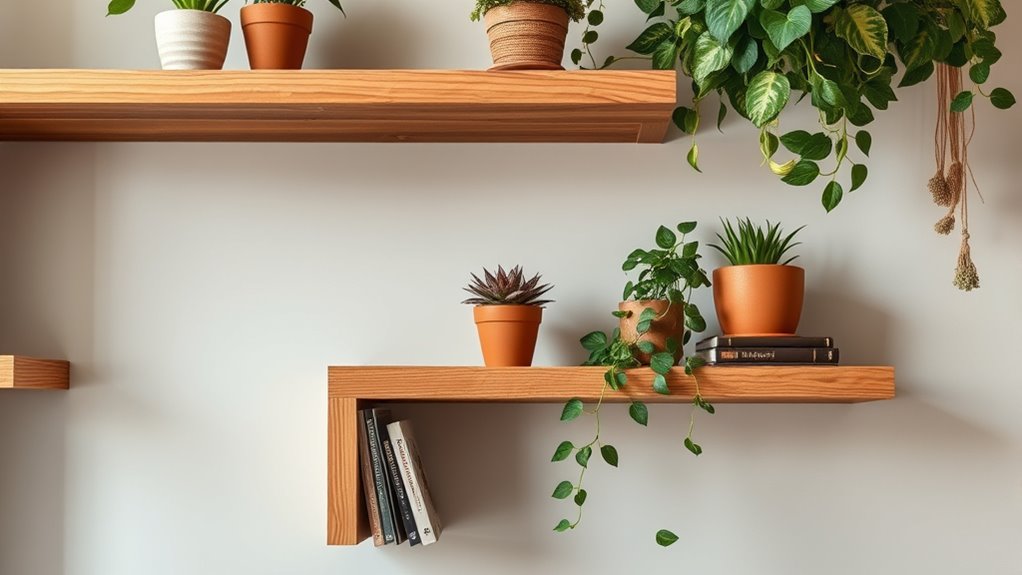
Installing and Styling Your Boho Floating Shelves
Before mounting your boho floating shelves, make certain they are perfectly horizontal by using a level. Mark the wall where you want to install your wall shelves, then drill holes with the appropriate anchors and hardware based on your wall type. Insert the wall anchors and screw the mounting brackets securely into place, leaving enough protrusion for the shelf to hang. Slide the floating shelves onto the brackets, checking for stability and levelness as you go. Once installed, style your shelves with a curated mix of books, plants, and decor items to enhance your boho aesthetic. Proper installation techniques guarantee your floating shelves are both functional and visually appealing, creating a beautiful display space that reflects your unique style. Additionally, taking your time to ensure everything is level can prevent uneven shelves and promote a polished look. Confirming that the brackets are compatible with your wall type can facilitate a smoother installation process. Incorporating ergonomic principles into your workspace setup can further enhance comfort while decorating or working around your shelves. To ensure your display remains secure over time, periodically check the hardware and tighten any loose screws or brackets.
Frequently Asked Questions
Can Floating Shelves Hold Heavy Books?
You wonder if floating shelves can hold heavy books. The answer depends on the shelf’s material, hardware, and installation. Standard shelves usually support 15 to 50 pounds, so heavy books might cause sagging or damage. To safely hold heavier books, choose reinforced shelves with sturdy brackets, and always anchor into wall studs or use high-quality anchors. Distribute weight evenly, and avoid overloading to keep your shelves stable and secure.
Can You Put Plants on Floating Shelves?
Yes, you can put plants on floating shelves. Just make sure the shelves are securely mounted and sturdy enough to hold the weight of your plants and their containers. Small to medium-sized plants like succulents, pothos, or air plants work best. Placing them on floating shelves adds a lively, green touch to your space, enhancing your decor and creating a calming, natural vibe in your home.
Can You Put Books on Floating Shelves?
Did you know that properly mounted floating shelves can support 10 to 20 pounds per foot? Yes, you can definitely put books on floating shelves, and they’re perfect for it because of their minimalist design. To guarantee they hold your favorite reads safely, use heavy-duty brackets or add extra supports for longer shelves. Arrange your books vertically or horizontally to create a stylish display that complements your space.
How Much Weight Can a DIY Floating Shelf Hold?
You wonder how much weight a DIY floating shelf can hold. It depends on your hardware, wall type, and materials. Using strong metal brackets and high-quality wood, you can support 50 to 100 pounds if installed into wall studs. Be sure to distribute weight evenly and avoid overloading the shelf to keep it safe and sturdy over time. Proper installation and materials are key to maximizing its load capacity.
Conclusion
Now, with your shelves beautifully installed, your space transforms into a vibrant jungle of books and plants—each piece a proof to your creativity. Picture your shelves as a canvas, where every plant and book adds color and life, turning an ordinary wall into a boho oasis. With your DIY skills, you’ve crafted more than shelves—you’ve created a personalized sanctuary that reflects your style and spirit. Let your space breathe, grow, and flourish with every new addition.