
To add trims, patches, and embroidery to basic pieces, start by choosing suitable fabrics and securing them with pins or fusible webbing. Use a ruler or marking tools to plan your design, then sew or glue trims along edges, attach patches with the right stitches, and create embroidery with specialized needles and threads. Proper preparation and technique are key to professional-looking results. Continue exploring to discover detailed tips for flawless embellishments that transform your garments.
Key Takeaways
- Select appropriate fabrics and trims to match the garment’s material for durability and aesthetic appeal.
- Use light marking tools to precisely position patches, trims, or embroidery designs before attachment.
- Secure patches with fusible web or pins, then sew around edges with zigzag or satin stitches for durability.
- Attach trims using straight stitches along edges with a sewing machine, ensuring proper alignment.
- Stabilize delicate fabrics with interfacing or water-soluble stabilizers to prevent puckering during embroidery.
Have you ever wondered how to transform simple clothing into a unique statement piece? Adding trim, patches, and embroidery is a fantastic way to do it, and it all begins with understanding fabric types and sewing techniques. The fabric you choose plays a critical role in how well your decorations will adhere and whether they’ll look polished or amateurish. For example, sturdy fabrics like denim or canvas are ideal for patches and trims since they hold up well and provide a solid base. On the other hand, delicate fabrics like silk or chiffon require gentle handling and lightweight trims to prevent damage. Knowing your fabric types helps you select the right materials and tools, ensuring your embellishments stay secure and look professional.
When it comes to sewing techniques, precision is key. For adding trim, you might use a simple straight stitch along the edges, which keeps the trim in place while maintaining a clean look. For patches, you can sew around the edges with a zigzag stitch or a satin stitch, which adds durability and a decorative touch. Embroidery, on the other hand, involves more intricate stitching patterns, often requiring specialized embroidery needles and threads. The choice of sewing techniques depends on your desired look and the fabric’s flexibility; for example, stretchy fabrics need stitches that accommodate movement to prevent puckering or tearing. Mastering basic sewing techniques like hemming, topstitching, and appliqué will give your project a professional finish and ensure your added elements stay securely attached. Additionally, understanding the role of fabric stability is essential for achieving neat, durable embroidery. Proper fabric stabilization techniques can help prevent puckering and shifting, especially on delicate or stretchy fabrics.
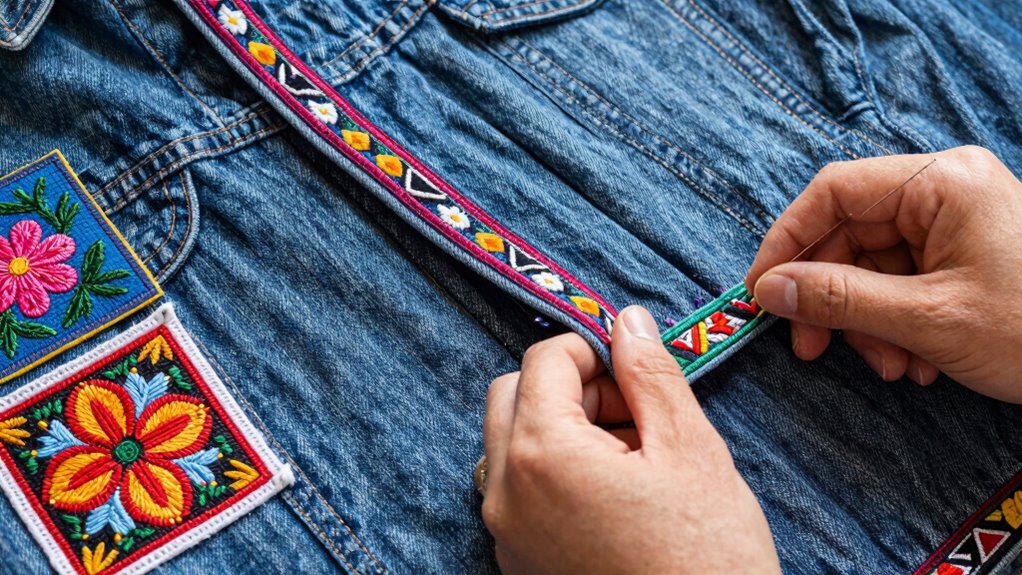
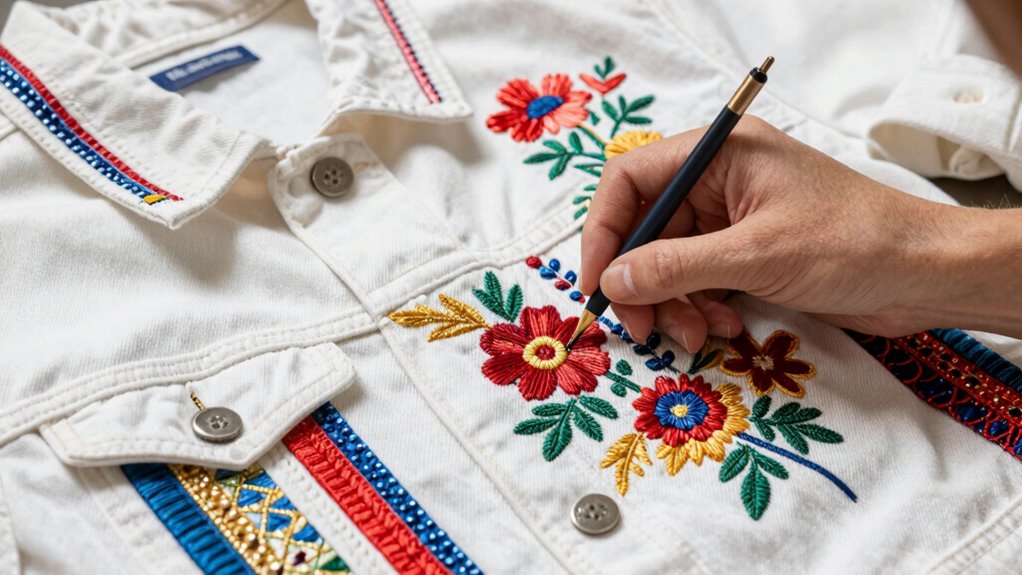
Start by preparing your clothing piece, making sure it’s clean and flat. Decide where you want to add your trim, patches, or embroidery, and mark those areas lightly with fabric chalk. When working with patches, consider using fusible webbing or fabric glue for initial placement before sewing, which helps keep everything in place. For embroidery, transfer your design onto the fabric using transfer paper or water-soluble pens, then stitch carefully along the lines. If you’re adding trim, pin it securely before sewing, and use a sewing machine for straight lines or decorative stitches. Pay attention to tension settings and stitch length to match your fabric type and project needs. With patience and practice, your basic pieces will come alive with texture, color, and personality, turning ordinary into extraordinary.
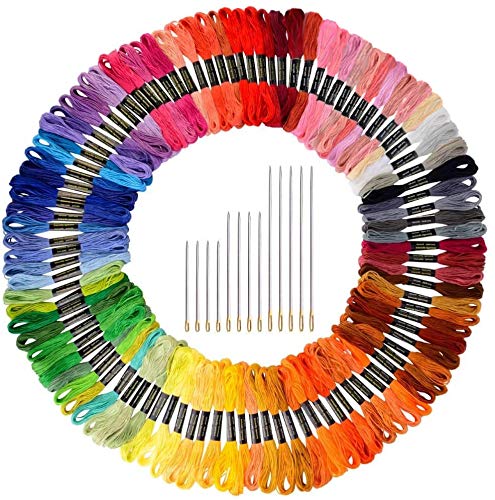
Paxcoo 124 Skeins Embroidery Floss Cross Stitch Thread with Needles
WHAT YOU GET – Paxcoo Embroidery thread included 124 skeins embroidery threads along with a set of gold…
As an affiliate, we earn on qualifying purchases.
As an affiliate, we earn on qualifying purchases.
Frequently Asked Questions
What Fabrics Are Best Suited for Adding Trim and Patches?
You should choose fabrics with good fabric compatibility and patch adhesion for adding trim and patches. Cotton, denim, canvas, and twill work well because they’re sturdy and hold patches securely. Avoid slippery or stretchy fabrics like silk or jersey, as they can make patch adhesion tricky. Always test a small area first to verify the fabric and patch stick well, giving your design a durable, professional finish.
How Do I Choose the Right Embroidery Thread?
Imagine your design coming to life with vibrant threads that catch the eye. When choosing embroidery thread, prioritize color coordination to match or beautifully contrast your fabric. Also, consider thread durability—opt for high-quality threads that withstand washing and wear. Bright, strong threads will make your embroidery pop and last longer, ensuring your creative touch remains stunning over time.
Can I Add Trim to Stretchy or Delicate Fabrics?
You can add trim to stretchy or delicate fabrics, but you need to guarantee fabric stability first. Use a zigzag stitch or stretch stitch to secure the trim without restricting movement. Keep seam allowances slightly wider for easier attachment and to prevent puckering. Test on a scrap piece first, as delicate fabrics may require a gentle approach. This way, your trim stays in place without damaging the fabric’s softness or stretch.
What Tools Are Necessary for Detailed Embroidery Work?
To do detailed embroidery work, you need essential tools like embroidery hoops to keep fabric taut, sharp embroidery needles for precision, and high-quality embroidery threads for vibrant designs. Incorporate various embroidery techniques, such as satin stitch or French knots, to add texture. Use decorative stitches like zigzag or chain stitches to enhance your design. A good pair of scissors and a fabric marker also help you achieve intricate, professional-looking embroidery.
How Do I Prevent Fraying When Attaching Patches?
To prevent fraying when attaching patches, use sewing machine tips like a zigzag stitch around the edges for secure attachment. Before sewing, apply a fabric stabilizer or fray check to the raw edges. Practice patch placement techniques by positioning your patch carefully and pinning it in place. This guarantees a neat finish and reduces fraying, giving your project a professional look.

Qjaiune 20 Pcs Double Sided Iron On Adhesive Sheets, Light Weight Iron On Fabric Adhesive A4 Size Heat Melt Glue Sheet, Press-on Fusible Webbing for Fabric Applique Patches Embroidery Sewing
✿Easy to Use: Our iron on sheets are designed for effortless application—simply cut to size, iron onto fabric,…
As an affiliate, we earn on qualifying purchases.
As an affiliate, we earn on qualifying purchases.
Conclusion
With a little creativity, you can transform your basic pieces into bold, beautiful statements. By blending trims, patches, and embroidery, you bring personality and pizzazz to plain garments. Don’t hesitate to experiment, explore, and enjoy the process. Remember, the magic lies in your unique touch—making each piece perfectly personal. So go ahead, get crafty, and create mesmerizing clothing that’s as expressive as you are!

Brother Serger, 1034D, Heavy-Duty Metal Frame Overlock Machine, 1,300 Stitches Per Minute, Removeable Trim Trap, 3 Included Accessory Feet, White
METAL FRAME: The Brother 1034D is a durable serger made with a high-quality metal frame and interior components….
As an affiliate, we earn on qualifying purchases.
As an affiliate, we earn on qualifying purchases.

New brothread Tear Away Machine Embroidery Stabilizer Backing 8"x8" – 100 Precut Sheets – Medium Weight 1.8 oz- Fits 4×4 and 6×6 Hoops
▶TEMPORARY STABILIZER: It provides temporary support for embroidery projects. They are best used on firmly woven fabrics and…
As an affiliate, we earn on qualifying purchases.
As an affiliate, we earn on qualifying purchases.