
To create a stunning DIY boho furniture makeover, start by thoroughly preparing your piece with cleaning and sanding. Use layered paint in contrasting colors, then add textures and faux effects like drips and rust spots. Distress edges with sandpaper and enhance details with wax or stain for an aged look. Finish with protective sealers and style your piece with boho accessories. Keep exploring for detailed tips to elevate your furniture into a charming, vintage-inspired decor statement.
Key Takeaways
- Prepare furniture thoroughly by cleaning, sanding, and filling imperfections to ensure smooth paint application and effective distressing.
- Use layered, contrasting colors with stippling, dry brushing, and overlapping techniques to create textured, weathered boho effects.
- Apply distressing methods like sanding edges and corners, and utilize wax or stain to enhance vintage, aged appearances.
- Incorporate faux effects such as drip paint, rust, and stenciling for added depth and rustic charm.
- Finish with protective topcoats and style with boho accessories to achieve a cohesive, personalized furniture makeover.
Preparing Your Furniture for a Boho Makeover

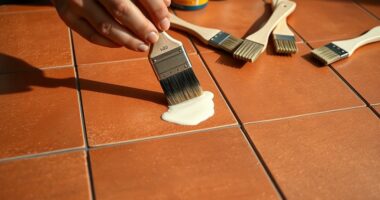
Before you start your boho furniture makeover, it is vital to prepare your piece properly. Begin by thoroughly cleaning the surface with a degreasing solution like Dixie Belle White Lightning to remove dirt, grease, and gloss, ensuring proper paint adhesion. Decide whether to remove hardware or leave it on if it suits your design—just remember to save it for reattachment later. Next, sand the furniture with a 5-inch orbital sander or fine grit sandpaper to smooth out glossy finishes or veneer, creating a better surface for paint. Fill any imperfections or mismatched hardware holes with a durable, sandable wood filler like Dixie Mud, then sand smooth once dry. Proper surface preparation enhances the durability of your finished piece and ensures a professional look. Finally, use a clean, damp cloth to remove all dust and debris, completing your surface prep for painting and distressing. Proper surface preparation is essential for achieving a professional-looking boho furniture makeover, especially when considering long-term durability of your finished piece. Additionally, using appropriate tools such as a fine grit sanding pad can enhance the smoothness of your surface.
Applying Layered Colors and Creating Texture
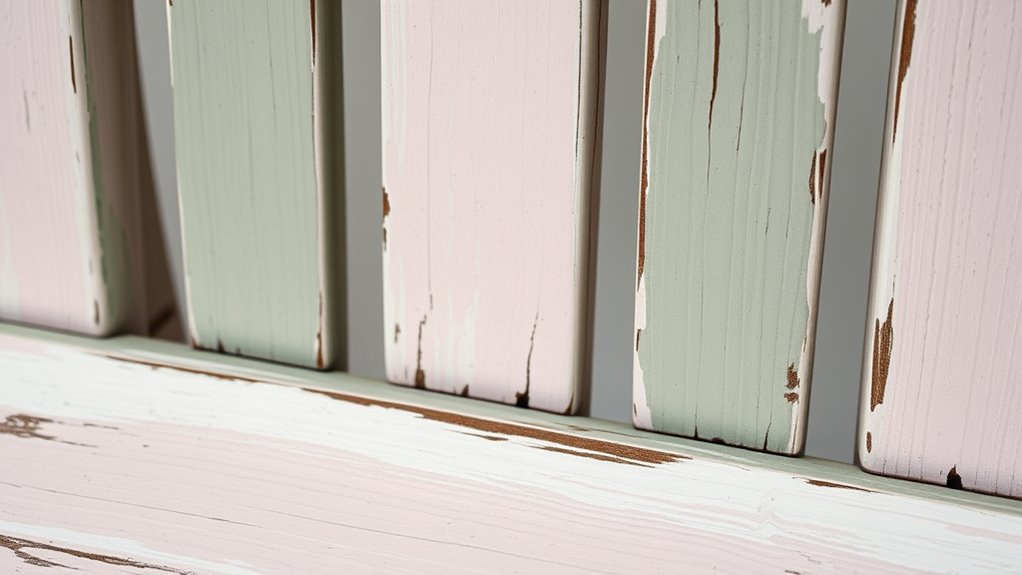
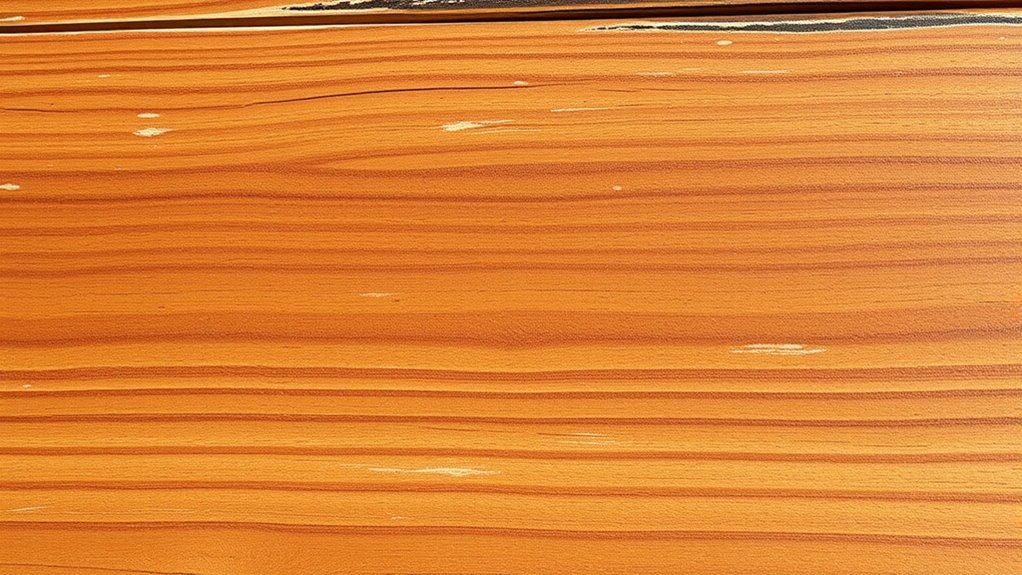
Once your furniture is prepped and ready for paint, it’s time to bring it to life with layered colors and textured effects. Use techniques like stippling and dry brushing to add depth with layered colors such as Muscadine Wine, Colonel Mustard, and Mermaid Tail. Mix paints with Sea Spray to create batter-like textures, applying them with stippling tools or brushes for a distressed look. Spray water onto wet paint to facilitate blending and create organic drips, adding visual interest. Overlap contrasting colors in uneven strokes to simulate weathering, enhancing the boho aesthetic. Incorporating layered colors and distressing techniques not only enhances the visual appeal but also mimics natural aging processes, adding authenticity to your piece. Understanding AI security vulnerabilities can inspire innovative protective measures for your projects. Using color combinations thoughtfully can help you achieve the perfect boho vibe. To further personalize your furniture, consider adding hand-painted details or decorative stenciling for extra flair. Once dry, lightly sand the surface to reveal underlying layers, giving your piece a worn, textured appearance. The combination of layered colors and distressing techniques results in a vibrant, tactile finish. Incorporate indoor aesthetics by choosing colors and textures that complement your existing decor, elevating your space’s style.
Adding Faux Rust, Drip Effects, and Stenciling
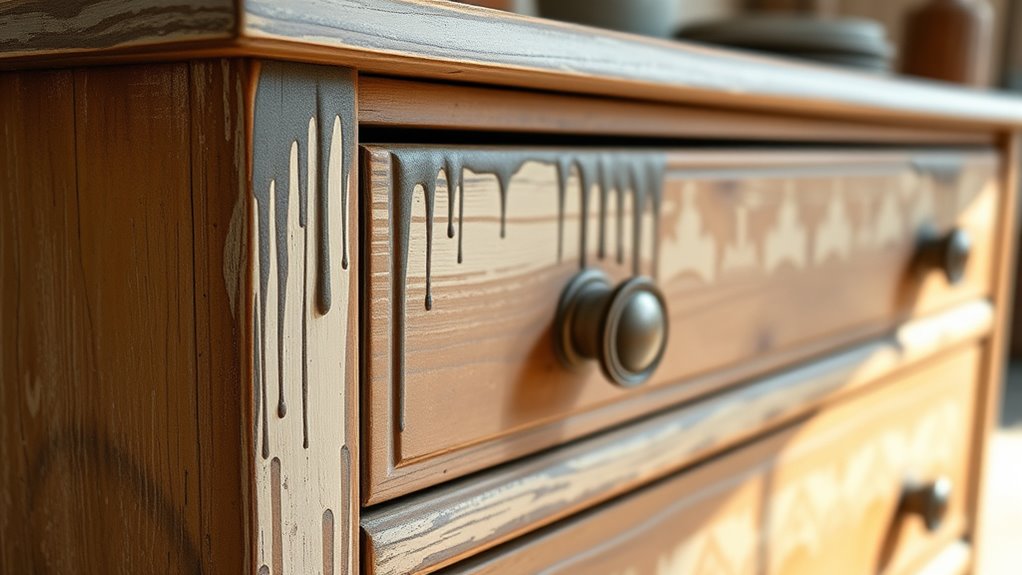
To add authentic faux rust, start by applying Rusty Nail and Coffee Bean paints over metal or distressed areas, then lightly sand the surface to reveal aged layers. Next, create drip effects by misting the paint with a spray bottle, then adding rust-colored layers with a brush or tongue depressor to mimic natural rust streaks. For stenciling, sand smooth areas before using silk screen stencils, ensuring proper adhesion and an imperfect, distressed finish. Reuse your silk screen stencils by washing them after each use, and apply paint through the mesh with a high-quality chip brush for crisp or distressed designs. Incorporating faux finishes such as textured paint or metallic accents can further enhance your furniture’s rustic and boho appeal. Additionally, incorporating yoga-inspired aesthetics like organic shapes and calming colors can elevate your boho furniture to reflect a relaxed, mindful vibe. To achieve a more authentic rustic look, consider integrating natural textures such as jute or rattan into your decor accessories. Using aged paint techniques can also add depth and character to your piece. Finally, distress the painted surface with a fine-grit sander, then enhance the aged look with colored wax or gel stain, emphasizing the textured, rustic charm. Incorporating beach-inspired elements can also add a relaxed, boho vibe to your furniture makeover.
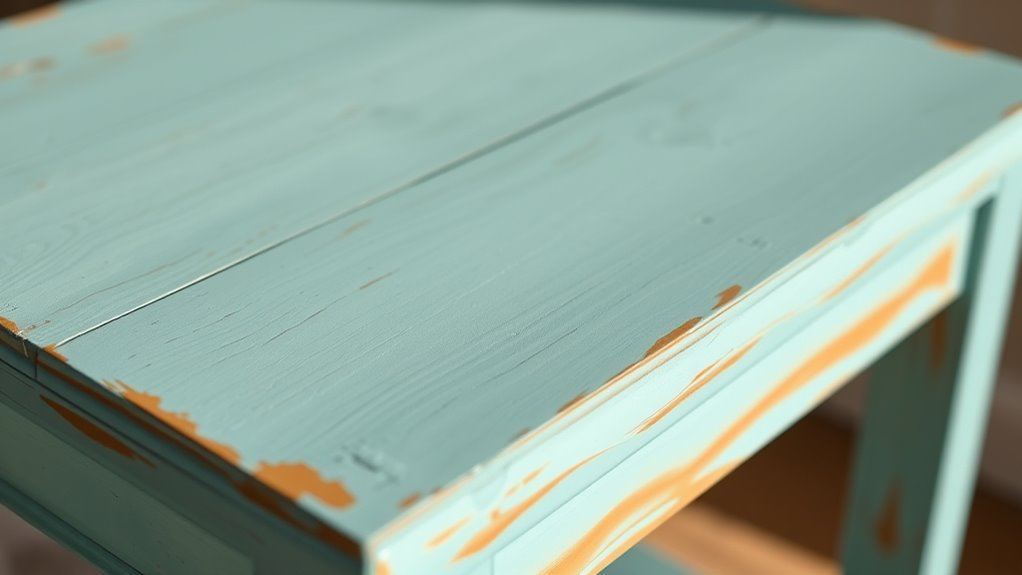
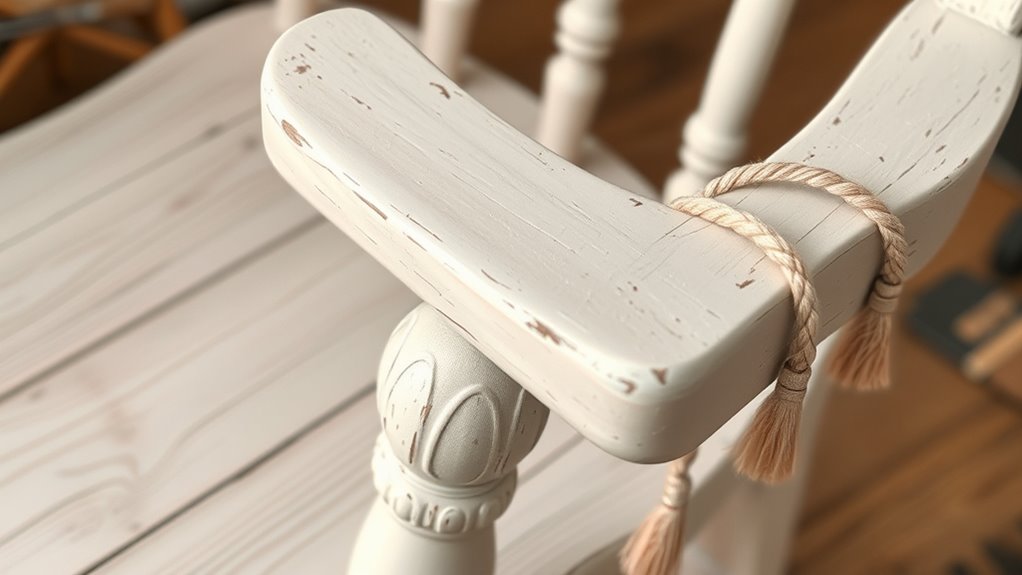
Distressing and Enhancing With Wax and Stain
Enhancing your distressed furniture with wax and stain brings out depth and character, making your DIY boho piece truly unique. Start by applying colored wax into cracks and crevices with a small brush to accentuate textured, layered details, creating a vintage, aged look. Let the wax dry for 24-48 hours to guarantee it sets properly before sealing. Next, use a water-based gel stain with a spritz of water to help it move into distressed areas, resulting in a rich, layered finish. Once the stain dries, lightly sand the surface to reveal underlying layers and add a naturally aged, textured effect. Incorporating vibrational energy techniques can also enhance the surface by gently exfoliating and preparing it for finishing touches, ensuring a smooth and refined appearance. Understanding residency requirements in furniture painting projects can help you plan your DIY process more effectively. Additionally, cost management is crucial to stay within your budget while achieving a high-quality finish. Combining these techniques enhances the distressed appearance, elevating your furniture’s vintage charm and giving it a beautifully worn, boho style.
Final Touches and Styling Your Statement Piece
After applying wax and stain to highlight the textured details of your boho furniture, adding final touches can truly bring your piece to life. Incorporate subtle distressing techniques with fine-grit sandpaper to enhance the layered paint effect, creating a weathered look. Use wax finishing in strategic areas to deepen the finish and evoke an aged, boho charm. To complete your furniture makeover, consider these styling tips:
Enhance your boho furniture with subtle distressing and strategic wax finishes for a charming, weathered look.
- Decorate with textiles, vintage accessories, or plants to complement the layered paint and distressed details.
- Seal your piece with a protective topcoat like Gator Hide to ensure durability without sacrificing the artistic finish.
- Position your statement piece thoughtfully within your space, pairing it with other boho decor elements to serve as a focal point.
- Exploring crypto regulations can inspire innovative ideas for safeguarding and enhancing your furniture pieces with modern techniques or materials.
- Paying attention to surface preparation ensures that all your layers and finishes adhere properly and achieve the desired textured appearance. Additionally, practicing mindful mind-body connection techniques can help you approach your DIY projects with increased focus and creativity.
These final touches will elevate your DIY project into a stylish, cohesive addition to your decor.
Frequently Asked Questions
How Do You Make Painted Furniture Look Distressed?
To make painted furniture look distressed, you start by lightly sanding edges, corners, and worn areas to reveal the underlying wood or layers. Apply a dark or colored wax into crevices, then wipe away excess for an aged effect. Lightly sand the painted surface to simulate chipping, and use a dry brush with a contrasting color to highlight details. Layer different paints and sand through them for a naturally distressed, vintage look.
How to Antique Furniture After Painting?
To antique painted furniture, start by applying a dark wax or stain into crevices and details, then wipe away the excess to highlight aged features. Use a dry brush with a darker glaze over the surface for depth, and lightly sand edges after sealing to reveal underlying layers. Layer water-based stains or waxes to mimic natural patina, then finish with a clear wax or topcoat to protect and preserve the antique look.
How to Paint a Piece of Furniture?
When you paint a piece of furniture, start by cleaning and lightly sanding the surface for better paint adhesion. Apply a smooth, even base coat of your chosen color, like Antebellum Blue. Use a dry brush or stippling technique to add layered colors and textures, giving it depth. Consider stenciling or freehand designs with metallic or bright acrylics for a boho vibe. Finish with a protective sealant to guarantee durability and a polished look.
Conclusion
Once you step back, you’ll see your furniture transformed into a vibrant, textured masterpiece that radiates boho charm. The soft layers of paint, subtle distressing, and playful drips come together like a piece of art ready to breathe new life into your space. With each brushstroke and detail, you’ve created a one-of-a-kind statement piece that invites warmth and personality. Now, sit back and enjoy your stunning, handcrafted treasure that’s as unique as your style.