You can easily elevate your accessories with DIY embellishments. Start by gathering essential tools like tweezers, hotfix applicators, and crystal placement grids. Use a hotfix wand to apply rhinestones with precision—just heat it up, place the shiny side facing up, and let the glue bubble before sticking it to your fabric. For larger designs, consider stencils and transfer films to maintain integrity. Don't forget to organize your workspace for efficiency! You can get creative with different materials too, transforming bags or jackets. Keep it fun and bold; there's so much more to explore in your embellishment journey!
Key Takeaways
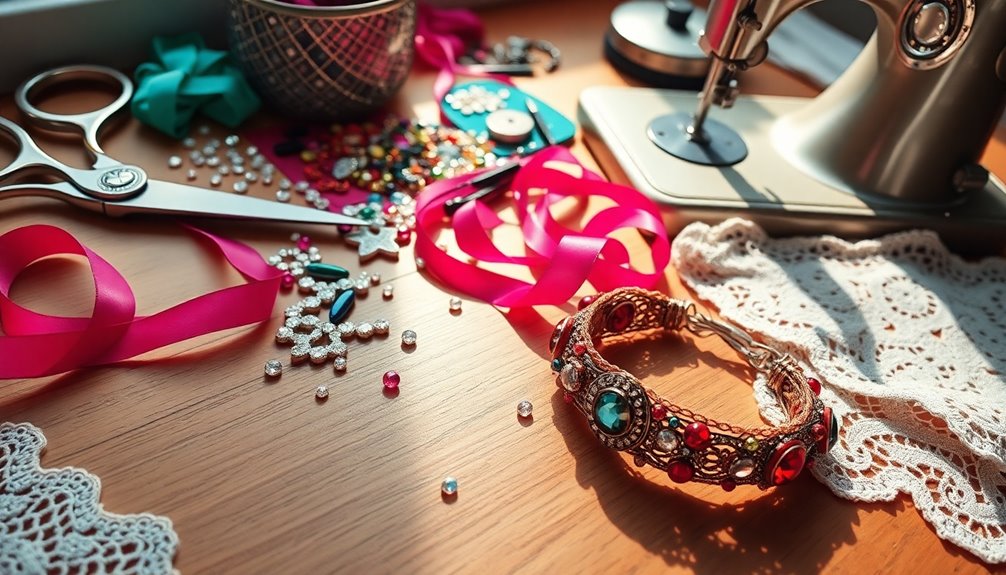
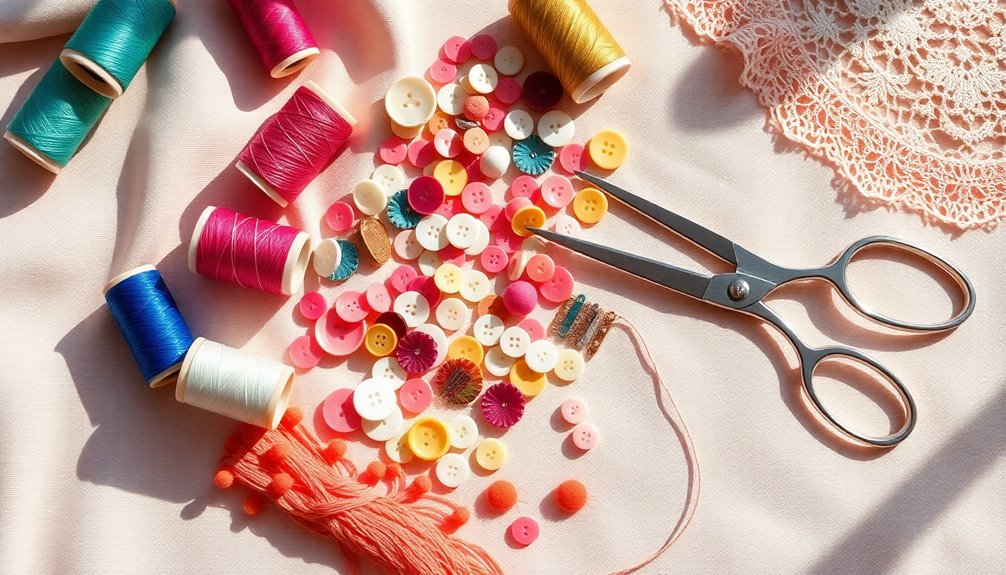
- Gather essential tools like tweezers, hotfix applicators, and crystal placement grids to enhance your embellishing process.
- Master the hotfix rhinestone application technique for precise and durable designs on various fabrics.
- Utilize stencils and transfer films for intricate designs, ensuring clean and professional-looking embellishments.
- Organize your workspace efficiently with labeled containers and pegboards to easily access supplies and tools.
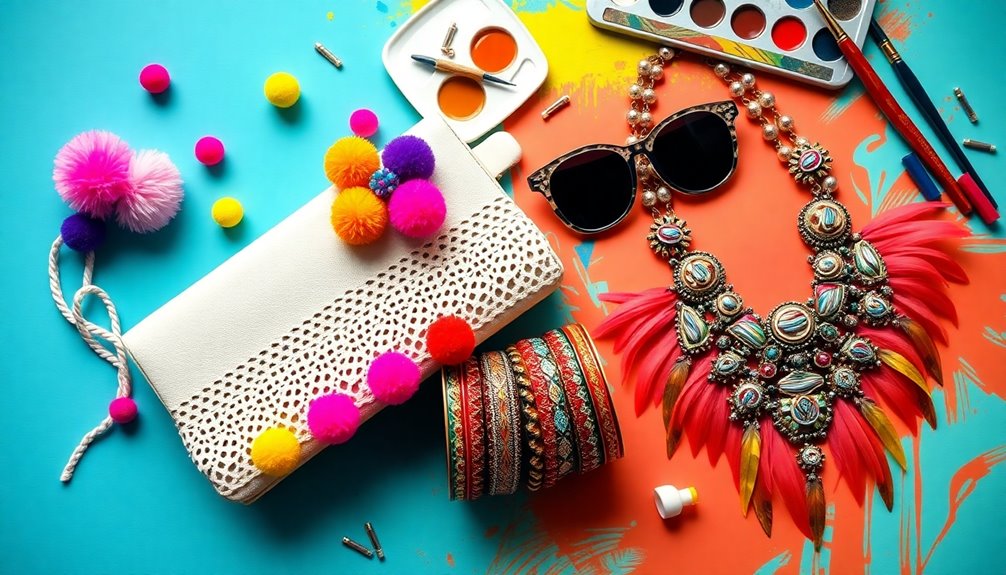
- Get creative by applying rhinestones, fabric glue glitter, and crochet patterns to revamp your accessories sustainably.
Overview of Embellishment Tools

When you're diving into DIY embellishment projects, having the right tools at your fingertips can make all the difference.
Essential embellishment tools include tweezers, wax pencils, and hotfix applicators, which help you achieve precise placement of hotfix rhinestones. The hotfix applicator wand is particularly handy, as it applies rhinestones without glue, using heat to activate the adhesive for accurate positioning and minimal damage risk.
For larger projects, crystal placement grids and stencils streamline the application process, ensuring consistency and precision across multiple items.
Don't forget about safety equipment; it's vital to protect yourself from harmful fumes while you work.
With these tools, you're set to elevate your DIY projects to a whole new level of creativity!
Applying Hotfix Rhinestones
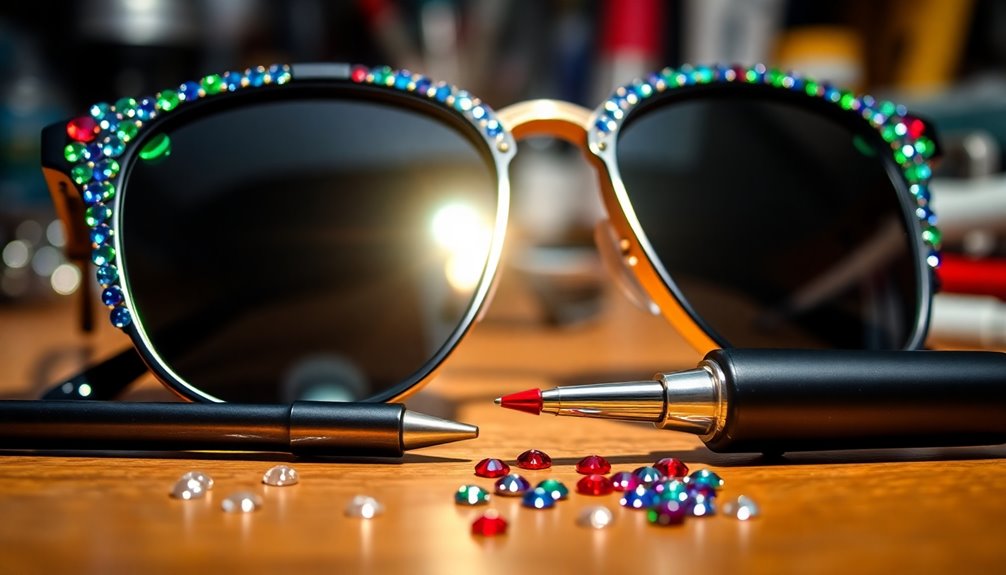
With the right tools ready, you can start applying hotfix rhinestones to your accessories. Using a hotfix applicator wand gives you precise control and eliminates the need for glue, allowing for intricate designs.
Here's how to get started:
- Choose the correct metal tip for your rhinestone size.
- Heat the wand until it's at the desired temperature.
- Pick up the rhinestone with the shiny side facing up.
- Wait for the glue to bubble before placing it on your fabric.
This method is more efficient than household irons, ensuring even heat distribution and reducing fabric damage.
Techniques for Bulk Application
To efficiently apply rhinestones in bulk, utilizing tools like stencils and crystal placement grids is essential for achieving precision and consistency.
These tools are perfect for intricate designs, such as logos or monograms, ensuring that your embellishments are organized and visually appealing. Crystal placement grids help you create straight or diagonal lines, making your work look professional.
For complete design transfers, consider using transfer films; they help maintain the integrity of your design during application on various surfaces.
If you're working with fabric, rivet machines, along with a fly press or manual rivet press, can streamline the process. Additionally, keeping your workspace free from high dust or humidity can enhance the overall quality of your embellishing work.
Additional Rhinestone Application Tools
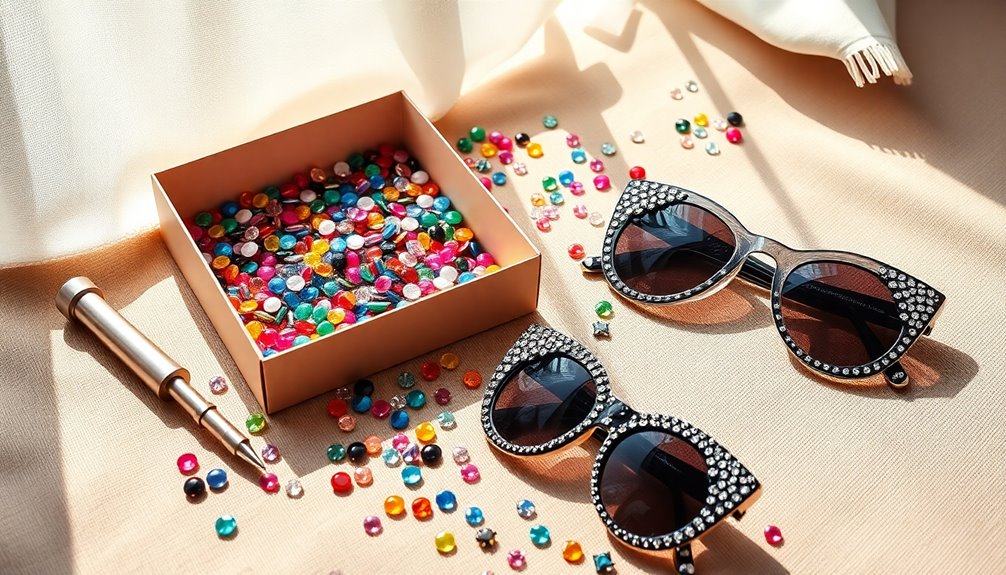
While embellishing your accessories with rhinestones, having the right tools can make all the difference.
Here are some essential tools for effective rhinestone application:
- Hot Melt Glue Gun: Perfect for rapid setting and precise placement on various materials.
- Applicator Syringe: Provides controlled dispensing of adhesive, minimizing waste for detailed work.
- Hotfix Applicator Wand: Activates the adhesive on hotfix rhinestones, guaranteeing a strong bond with heat.
- Crystal Placement Grid: Assures accurate and consistent alignment across projects, ideal for intricate designs.
Using these tools not only enhances your ability to apply rhinestones effectively but also improves the overall aesthetic of your accessories.
With the right equipment, your creative potential is limitless!
Organizing Your Workspace
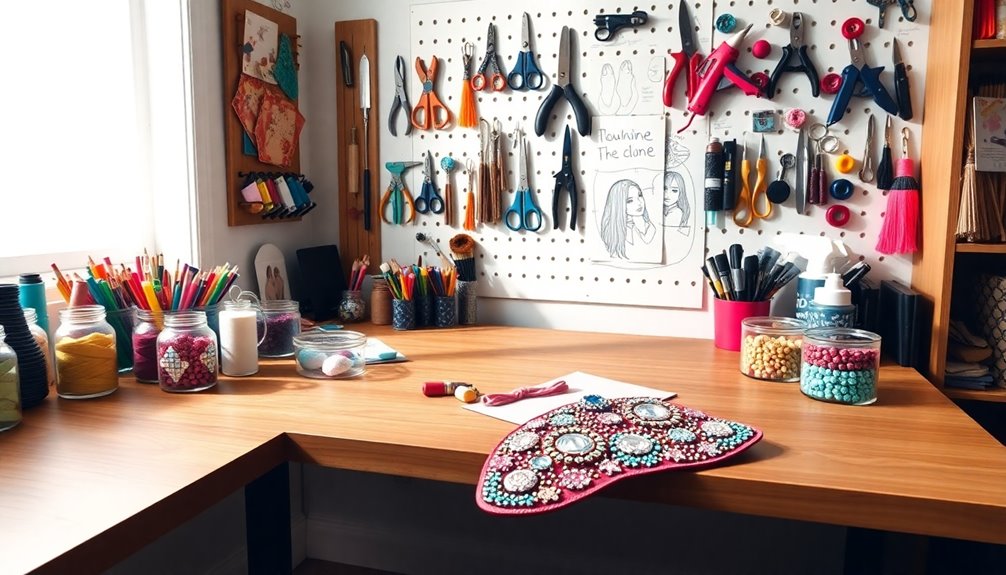
A well-organized workspace can transform your DIY projects, making embellishing accessories both enjoyable and efficient.
Start by utilizing clear plastic storage pots to neatly organize tiny supplies like beads, rhinestones, and sequins for easy visibility. Implement a dolly board as a protective surface for cutting and gluing, preventing damage to your main table.
Categorize your embellishments by type or color in labeled containers, streamlining your process and minimizing search time. Consider a pegboard or wall-mounted organizer to hang tools, maximizing your workspace while keeping everything within reach.
Finally, regularly assess and declutter your area, ensuring you only have the necessary tools and materials for your DIY embellishment projects. A tidy space fuels creativity! Additionally, embracing mindful decluttering can enhance your organization efforts and promote a more sustainable workspace.
Choosing Sewing Embellishments
How do you decide which sewing embellishments will elevate your project? Start by considering the purpose of your piece. Will bold accents or subtle details better enhance the design?
Remember to align your embellishments with the garment's overall style to guarantee a cohesive look.
Also, keep these tips in mind when choosing sewing embellishments:
- Match the weight of embellishments with the fabric type.
- Use the color wheel to find complementary colors.
- Prioritize high-quality options for durability.
- Always choose your fabric first to guide your embellishment choices.
Techniques for Sewing Embellishments
Sewing embellishments can transform your accessories, adding unique flair and character. Hand sewing gives you precision for attaching items like buttons, beads, and delicate lace, ensuring durability and a polished finish.
If you're working on larger projects, machine stitching is a fast and strong method for securing ribbons and patches. For lightweight embellishments like rhinestones and sequins, you can apply adhesive with specific fabric glue for proper adhesion.
Alternatively, iron-on appliqués offer a no-sew option; just heat them for easy placement and secure bonding.
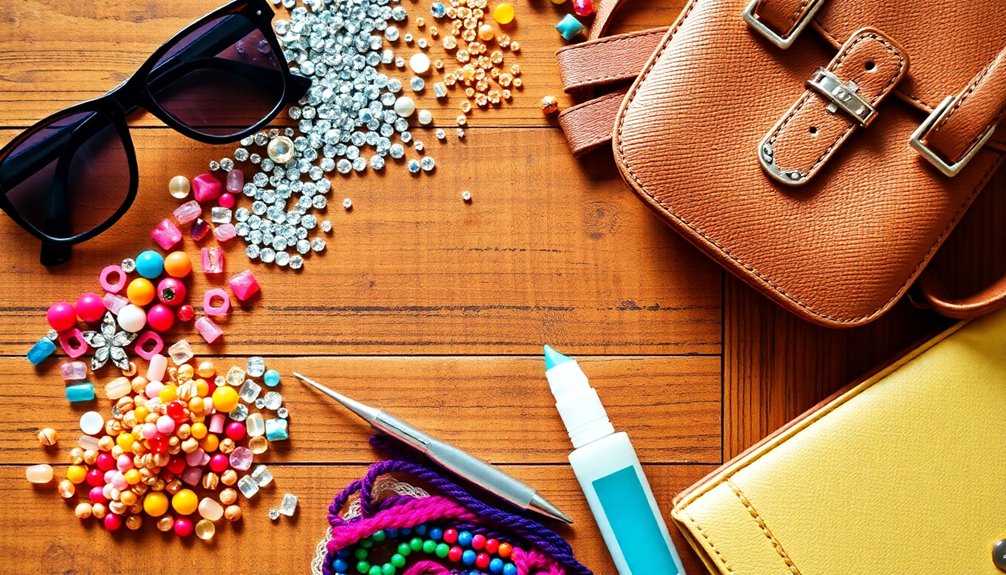
Creative Embellishment Ideas
While you might think of embellishments as just decorative touches, they can truly elevate your accessories into standout pieces. Here are some creative embellishment ideas to inspire your next project:
- Use hotfix rhinestones on bags and hats for instant sparkle—no mess, just heat!
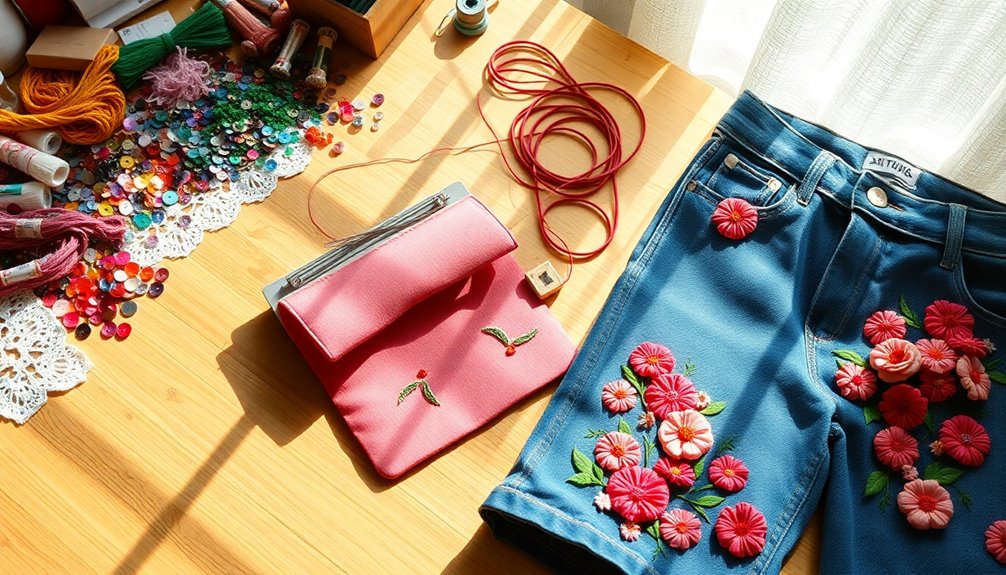
- Transform a plain tote bag by applying glitter with fabric adhesive, adding initials for a personal flair.
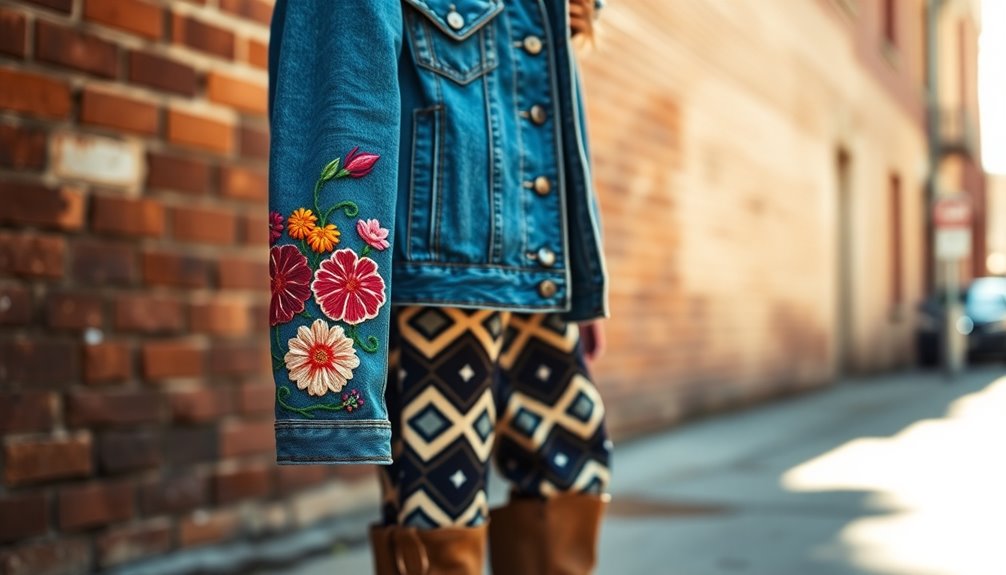
- Revamp an old leather jacket by incorporating studs or spikes for an edgy vibe.
- Add crochet patterns to scarves or hats for unique textures and warmth.
Incorporating eco-friendly materials into your designs can also enhance the sustainability of your creations. Don't forget to grab some glue dots for quick and easy application. With these ideas, you can make each accessory a true reflection of your style!
Frequently Asked Questions
What Types of Accessories Can I Embellish?
You can embellish a variety of accessories to make them uniquely yours.
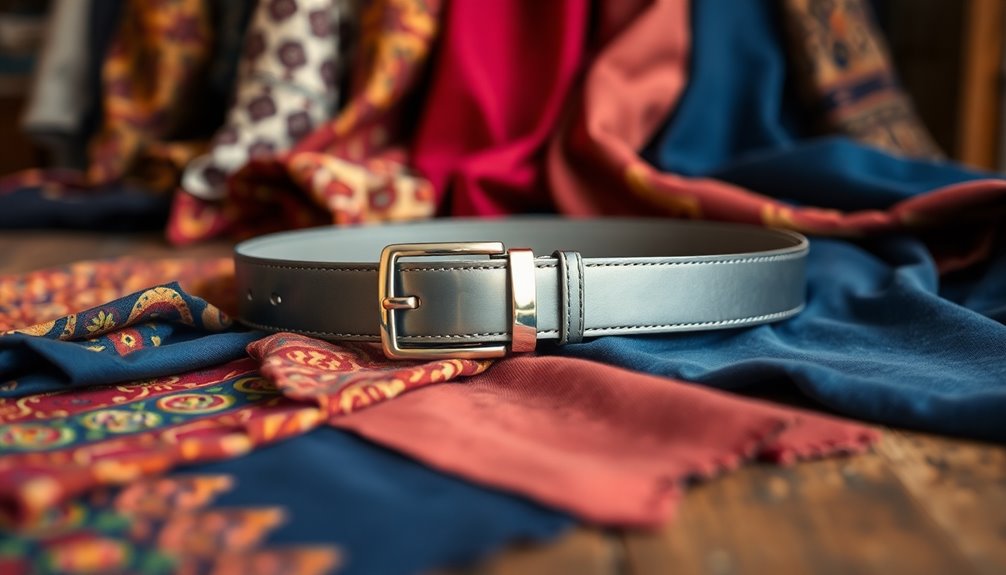
Think about items like hats, bags, belts, and shoes. Jewelry like bracelets and earrings can also be personalized with charms or beads.
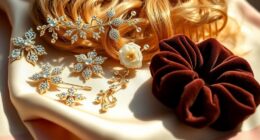
Don't forget about hair accessories, such as clips and headbands, which can be dressed up with fabric or embellishments.
Even scarves can benefit from some creative touches.
Get inspired and let your imagination run wild with your own style!
How Do I Clean Embellished Accessories?
You'd think cleaning embellished accessories would be a breeze, right?
But those delicate gems and intricate designs need some TLC. Start by dusting them gently with a soft cloth.
If they're really dirty, mix a bit of mild soap with water and use a damp cloth to wipe them down. Avoid soaking them, and steer clear of harsh chemicals.
Let them air dry, and you'll keep them looking fabulous for longer!
Can I Use Fabric Paint for Embellishment?
Yes, you can definitely use fabric paint for embellishment!
It's a great way to add your personal touch to various accessories. Just make certain the fabric paint is suitable for the material you're working with.
Before you start, test it on a small area to verify it adheres well and looks good.
Once you're ready, let your creativity flow and don't forget to follow the manufacturer's instructions for the best results!
What Are the Best Materials for Beginners?
When you're starting out, the best materials to use are fabric paint, markers, and adhesive gems.
Fabric paint's versatile and easy to use, while markers offer precision for fine details. Adhesive gems add sparkle without the mess.
You might also want to try felt or fabric scraps for layering and texture.
Finally, grab some basic tools like scissors and brushes.
With these materials, you'll create beautiful pieces in no time!
How Do I Remove Embellishments Without Damaging Items?
To remove embellishments without damaging your items, start by gently peeling them away from the surface.
If they're glued, use a heat source like a hairdryer on low to soften the adhesive.
For sewn-on decorations, use a seam ripper or small scissors to carefully snip the threads.
Always work slowly and keep a steady hand to avoid tearing the fabric or damaging the base item.
Test in a small area first, if possible.
Conclusion
Now that you've revealed the secrets to transforming your accessories, it's time to sprinkle a little magic on your creations. With your newfound skills in embellishment, you're not just adding flair; you're breathing life into every piece. So, roll up your sleeves and let your creativity shine bright—your accessories are about to become the stars of the show. Embrace the art of embellishment, and watch as your style takes a delightful turn!